Java

Spring Framework in Java

The Spring Framework is an application framework and inversion of control container for the Java platform.
Moreover we can say this is application framework for dependency injection (a design pattern to build decoupled applications).

Let’s simply see why and where to use spring instead of its definition. Understanding these will clear “What it is”?

Let suppose there is a travel agency which provides tours by AIR, water and roads.Below are classes and Interfaces for this use case.

public interface ITour
{
public void setAmount(int amount);
public void displayBookingInfo();
}

public class TourByAir implementes ITour
{
public void setAmount(int amount)
{
//Set charges of Tour by Air.
}

public void displayBookingInfo(){

}
}

public class TourByShip implementes ITour
{
public void setAmount(int amount)
{
//Set charges of Tour by Ship.
}

public void displayBookingInfo(){

}
}

public class TourByRoad implementes ITour
{
public void setAmount(int amount)
{
//Set charges of Tour by Road.
}

public void displayBookingInfo(){

}
}

public class VacationTour()
{
//Create Instance Of ITour.
private ITour tour;
}

Now for an instance of ITour we may require any of TourByAir, TourByShip or TourByRoad. It will be simply  depending on individual’s demand. For this we use Factory Pattern as creational pattern. And by doing some code  for initiating ITour based on multiple criteria’s we will done with our use case.
Spring provides the better way, it allow us to Declare mapping in XML and initialize objects automatically. By  using maximum singleton architecture of instances it helps in memory optimization.

The above is known as “Inversion Of Control”. And this is for what Spring framework is made.Hope this answered what,why,where for Spring.

Now one important this is that components which we write in spring are POJO (Plain Old Java Object) or POJI  (Plain Old Java Interface) means they are not inheriting any class of Spring it self. So the meaning of  “Inversion Of Control” i.e. “The application controls the framework, not the framework controls the application”, is verified in above discussion.

In next Tutorial we will see create sample application with discussed classes using Eclipse IDE.

Creating Servlet with Eclipse IDE in Java

Lets go through step by step for creating servlet in Eclipse IDE.

1)Creating Project

 First of all create a dynamic web project in Eclipse, I am naming it ‘ServletTest’.

firstServlet1

firstServlet2

firstServlet4

After above steps your application will look like below:-

firstServlet5

2)Creating Servlet

Now create a servlet inside src folder as shown in below:-

firstServlet6

firstServlet7

Now you will be see here the code full of errors.So are here require to add proper .jar file.For this just go to ‘Java Build Path’ add add required jar file as below:-

firstServlet8

firstServlet9

firstServlet10

firstServlet11

Now you can see that all errors are already resolve after getting proper references as in below screens:-

firstServlet12

Now I have just modified doGet() method and added some small piece of code there as you can see in image below:-

firstServlet13

Now just build your application,things are ready to test on server.

3)Testing on Server

Just try like below:-

firstServlet16

firstServlet17

firstServlet18

firstServlet19

Thats all,we have succssfully created and tested our first servlet.

But if you will not able testing thing on server,and you see something like below image:-

firstServlet15

The reason for this may be possible that you have not setup server earlier ever.

To over come this you will require to setup your server first.As you can see in below images:-

server1

server2

server3

server4

Now as you have setup your server successfully you can now thy steps under ‘Testing on Server’.Hope you have now successfully tested your servlet.

Keep coding…….

Creating Web-Service in Java Using Eclipse

Just writing a basic small simple step by step implementation for creating web-service in Eclipse and creating client for testing web service. For this one must need to have Java EE version of eclipse.

Setup Application:

   First of all Create a dynamic web project I am naming it as ‘WebServiceTest’.

WSStep1

WSStep2

Creating Java Class As Web Service Provider :-

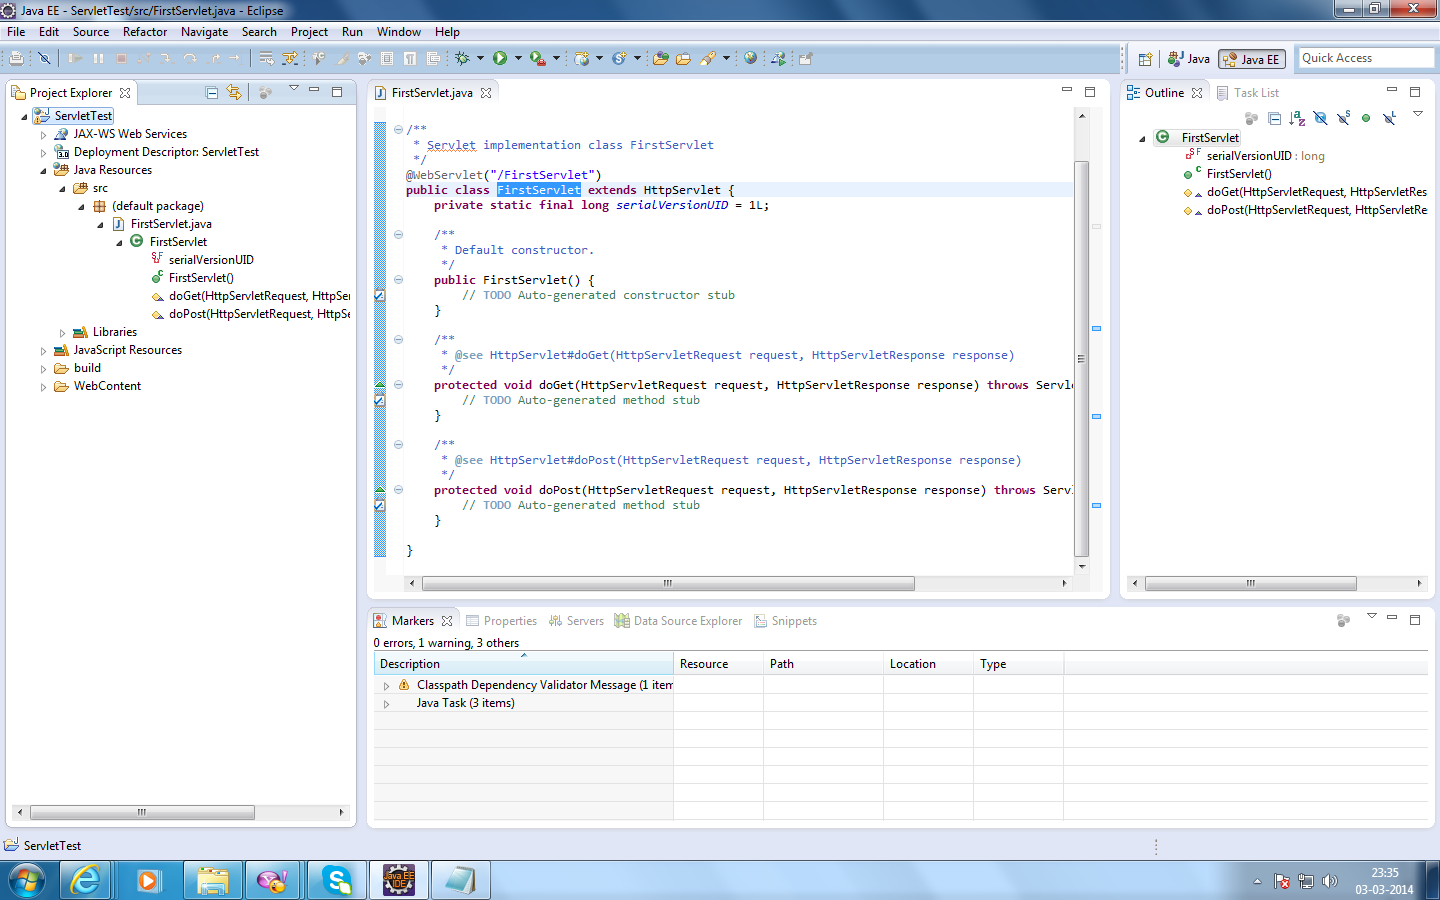
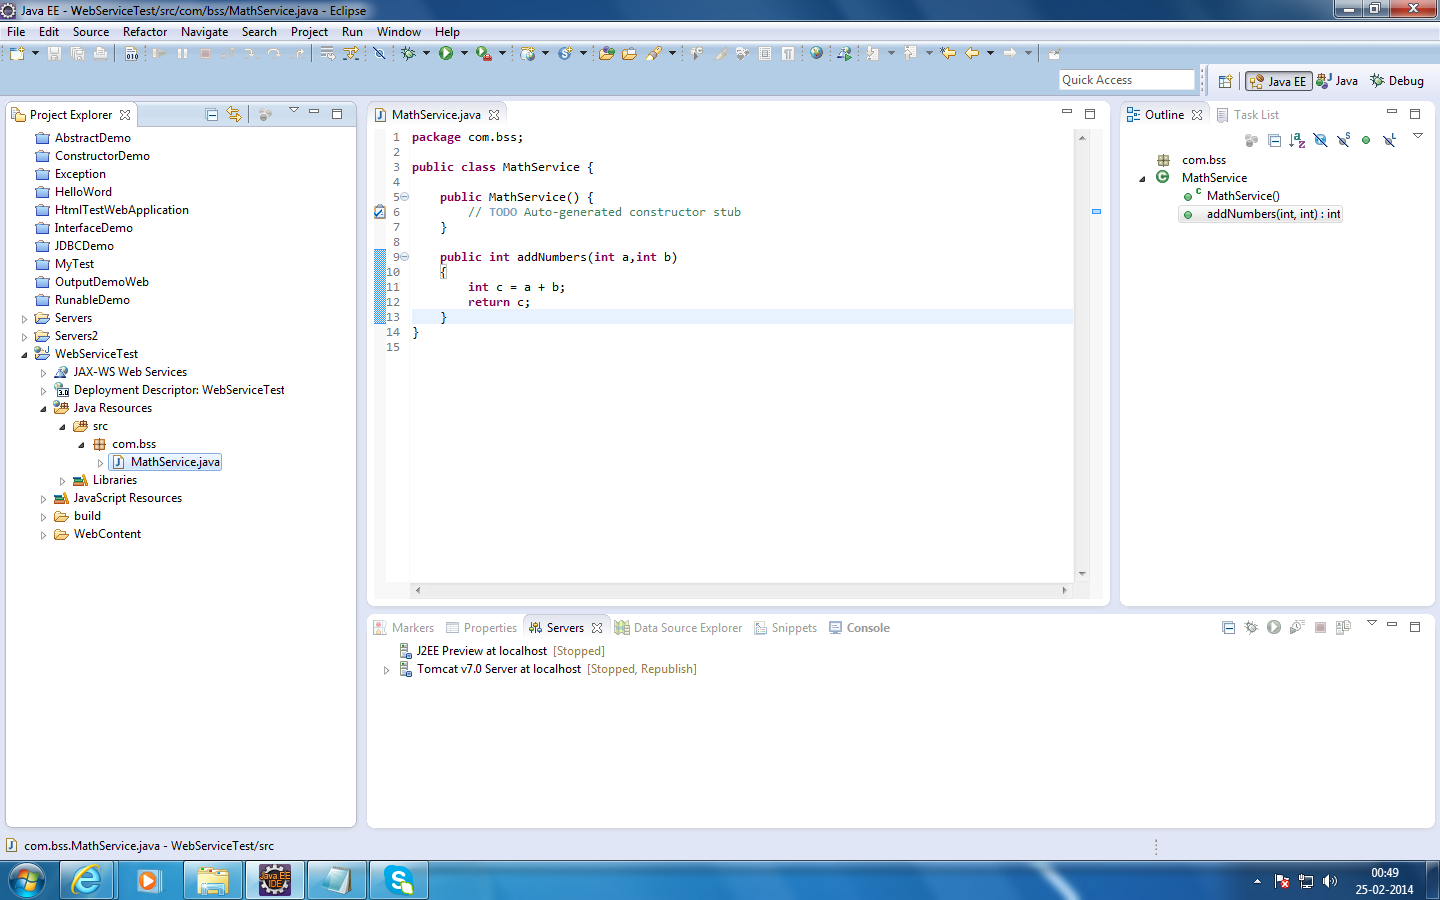
Now Inside ‘src’ folder just create ‘com’ folder and inside ‘com’ create a folder name as per you, I am just creating ‘bss’. This is just for a good practice as per standards.Now inside ‘bss’ folder I am creating a new class with Name ‘MathService’. Inside this class I am creating a method ‘addNumbers()’ which will be adding two number and will return their submission.

So the Overall Structure will look like below image:-

WSStep3

You have created your web service provider class, As you are using Eclipse, so all next steps are just few mouse clicks.

Building,Deploying and Testing:

Right Click on ‘Java Resources’ folder and go to web service as in below image:-

WSStep4

Select class by clicking on ‘Browse’ button for Service implementation as below:-

WSStep5

Drag both sliders under ‘Test Service’ and ‘Test Client’ to top. Here you can see during the drag that what exactly these are representing.Also make ‘Publish the Web service’ Check box true as below:-

WSStep6

And click on ‘Next’

WSStep7

Again Click on ‘Next’. You will be on below screen:-

WSStep8

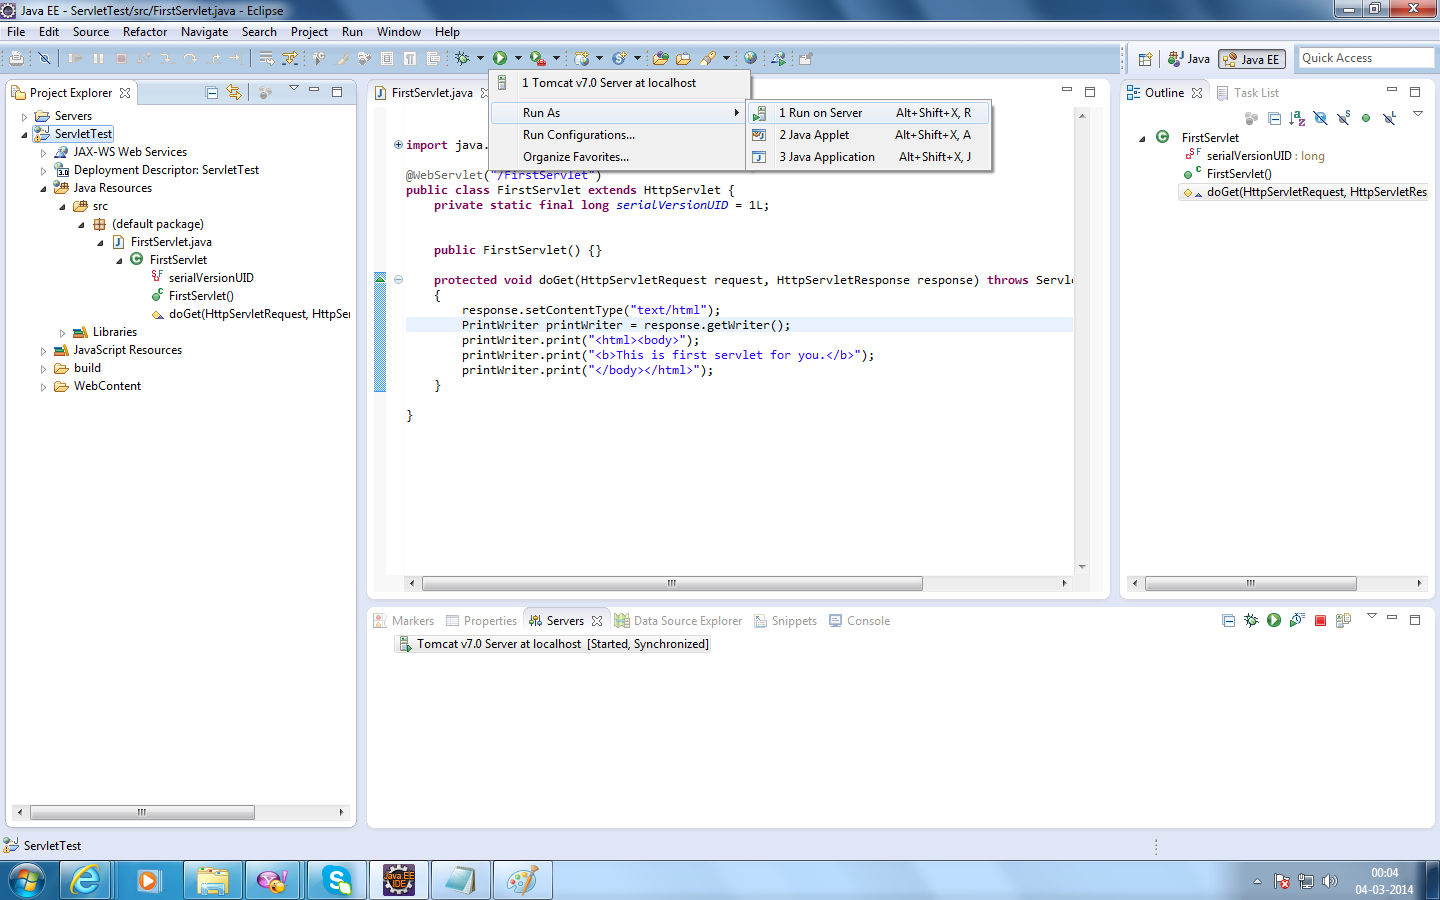
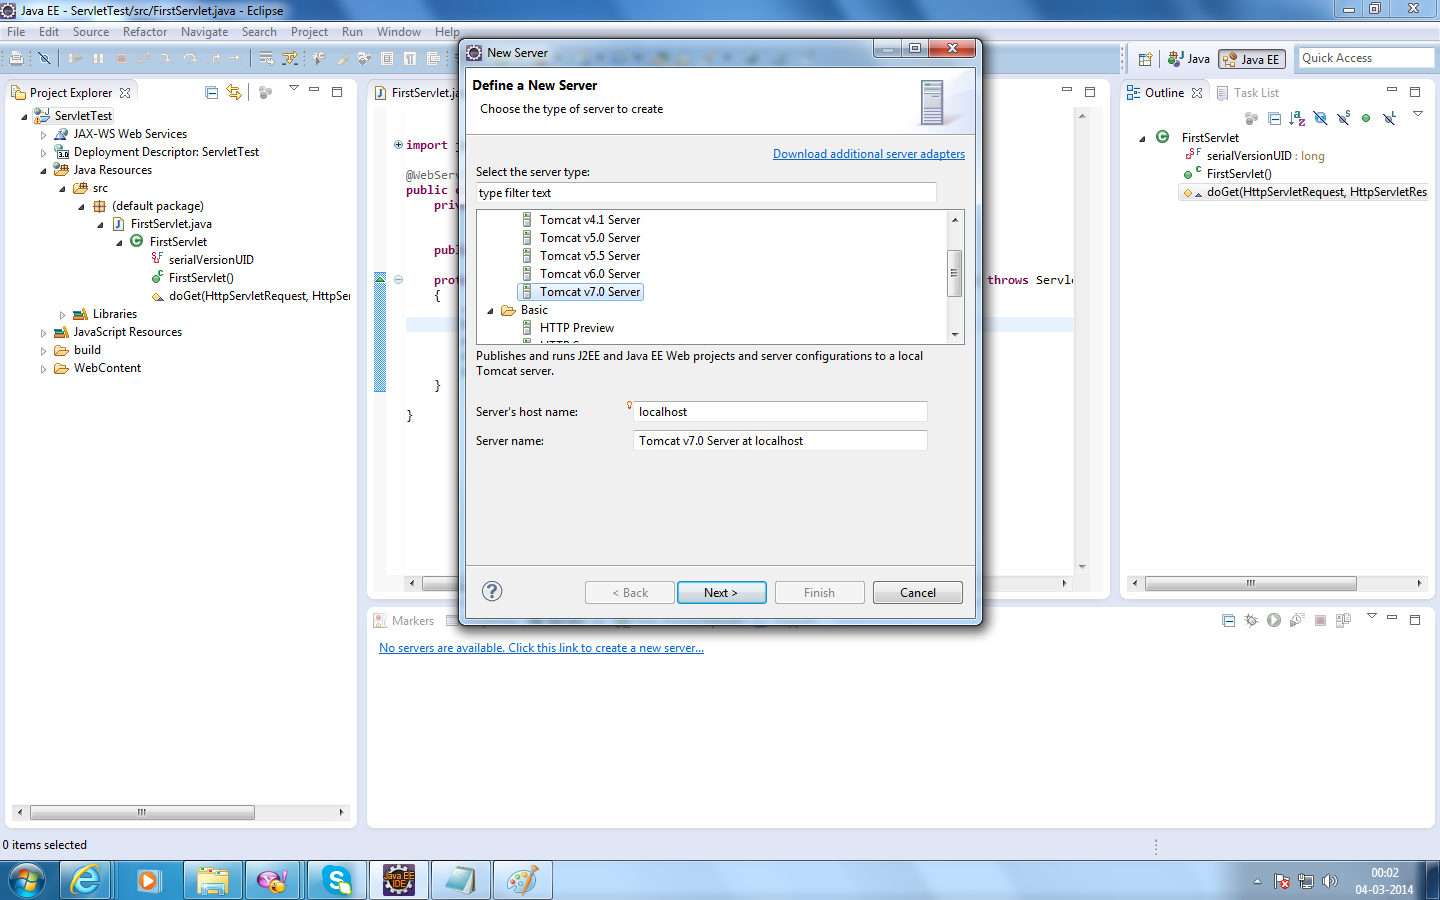
Click on ‘Start Server’ button.After this carry on to Click ‘Next’ as in below screens:-

WSStep9

WSStep10

Here in above image you will be see this ‘Launch’ button, currently don’t click on this. I will be explain at last that what is purpose of this.

WSStep11

WSStep12

WSStep13

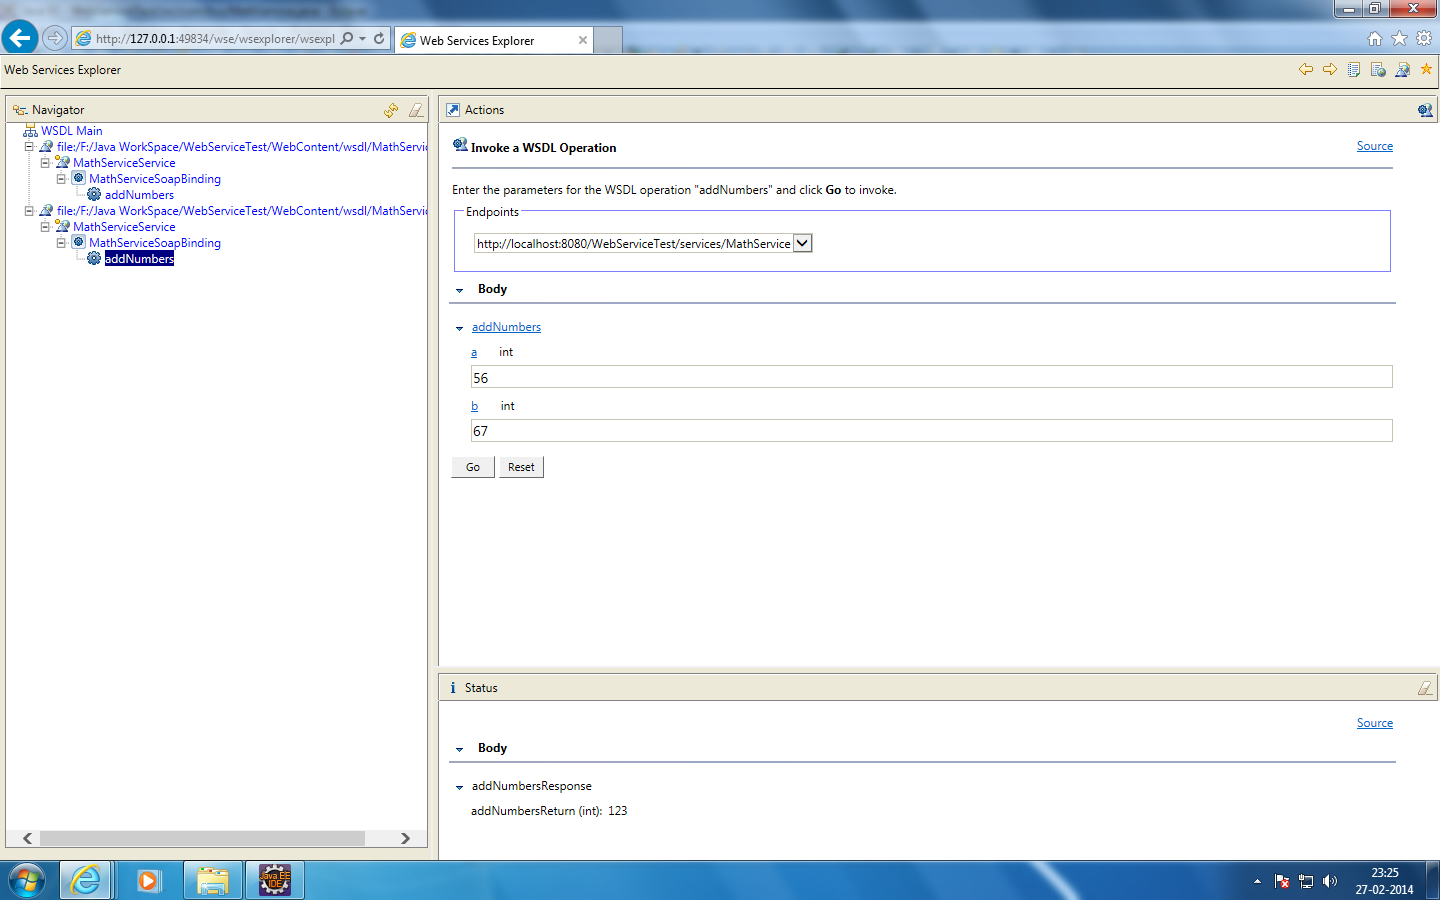
Finally in above screen click on ‘Finish’.After clicking on Finish you will be see what you need. You can see in browser that .jsp file is there for testing your web service, you can test your methods and see expected result as in below images:-

WSStep14

WSStep15

So that’s all here. But don’t forgot to explore each and every class which are created inside ‘WebServiceTest‘ and ‘WebServiceTestClient‘ for actual implementation.

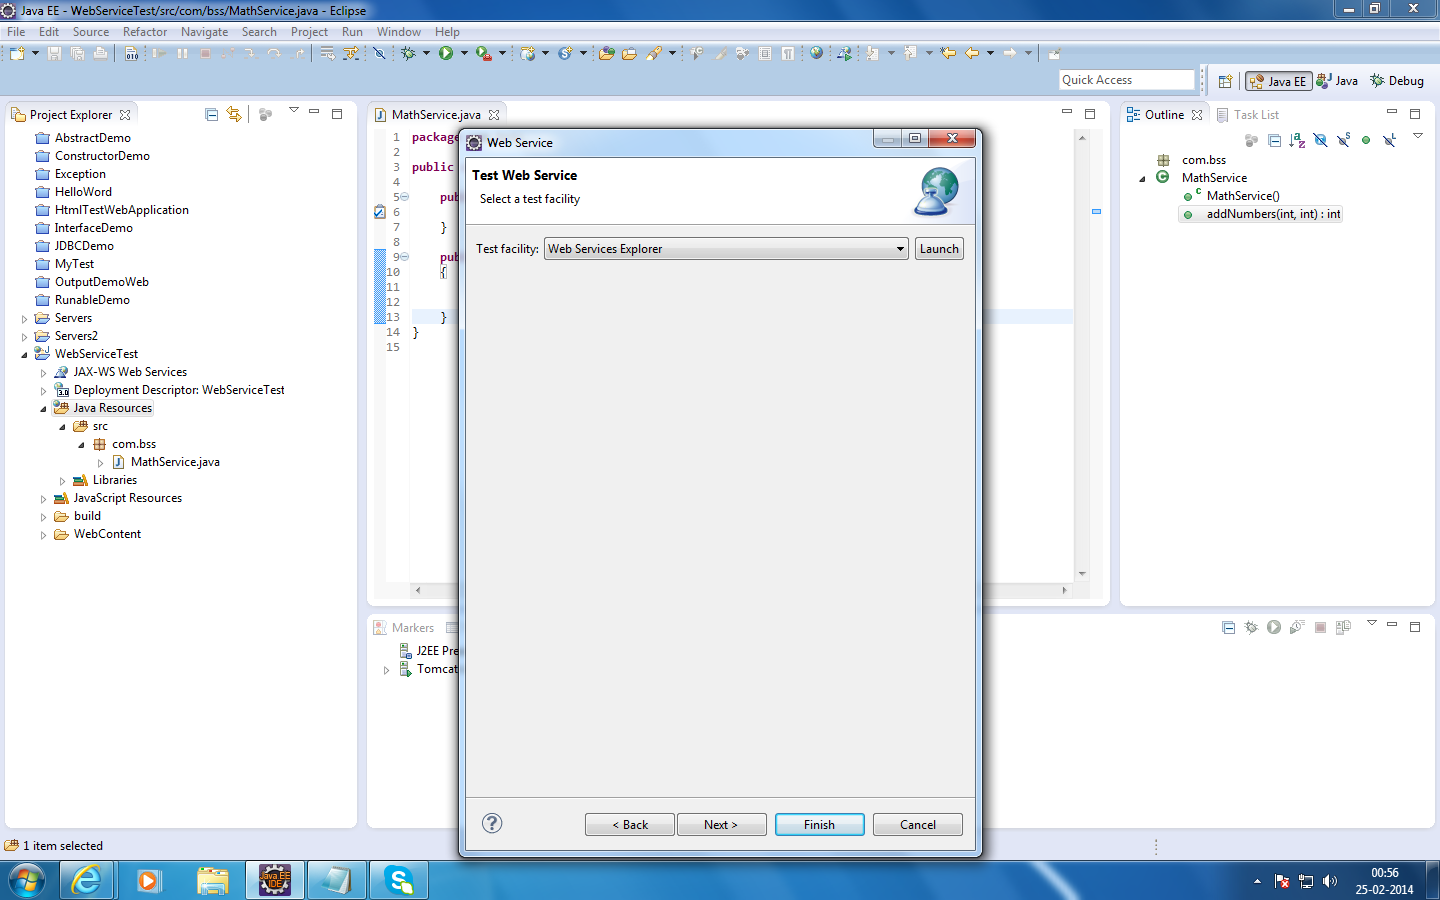
One additional test approach is also there:-

As above at once place there was a button ‘Launch’,by clicking on that also we can test  web service,in that case you can see result as below:-

WsdlTestStep1

WsdlTestStep2

Hope this will help someone.

Enjoy………………

Just want to add an additional information that some times  during this exercise you may find an Exception like this:-

java.lang.Exception: Couldn’t find a matching Java operation for WSDD operation YourMehodName

This is bit confusing….. The only reason for this is that inside your .java class you have written method name starting with capital letter.If in our case we have written method name as AddNumbers() then we will get this error. So for avoiding this simply make first character small in your method name.

Below is full trace of this Exception:-

java.lang.Exception: Couldn’t find a matching Java operation for WSDD operation “addNumbers” (2 args)  at org.apache.axis.InternalException.<init>(InternalException.java:71)  at org.apache.axis.description.JavaServiceDesc.loadServiceDescByIntrospection(JavaServiceDesc.java:902)  at org.apache.axis.providers.java.JavaProvider.initServiceDesc(JavaProvider.java:477)  at org.apache.axis.handlers.soap.SOAPService.getInitializedServiceDesc(SOAPService.java:286)  at org.apache.axis.deployment.wsdd.WSDDService.makeNewInstance(WSDDService.java:500)  at org.apache.axis.deployment.wsdd.WSDDDeployableItem.getNewInstance(WSDDDeployableItem.java:274)  at org.apache.axis.deployment.wsdd.WSDDDeployableItem.getInstance(WSDDDeployableItem.java:260)  at org.apache.axis.deployment.wsdd.WSDDDeployment.getService(WSDDDeployment.java:427)  at org.apache.axis.configuration.FileProvider.getService(FileProvider.java:231)  at org.apache.axis.AxisEngine.getService(AxisEngine.java:311)  at org.apache.axis.MessageContext.setTargetService(MessageContext.java:756)  at org.apache.axis.handlers.http.URLMapper.invoke(URLMapper.java:50)  at org.apache.axis.strategies.InvocationStrategy.visit(InvocationStrategy.java:32)  at org.apache.axis.SimpleChain.doVisiting(SimpleChain.java:118)  at org.apache.axis.SimpleChain.invoke(SimpleChain.java:83)  at org.apache.axis.server.AxisServer.invoke(AxisServer.java:239)  at org.apache.axis.transport.http.AxisServlet.doPost(AxisServlet.java:699)  at javax.servlet.http.HttpServlet.service(HttpServlet.java:641)  at org.apache.axis.transport.http.AxisServletBase.service(AxisServletBase.java:327)  at javax.servlet.http.HttpServlet.service(HttpServlet.java:722)  at org.apache.catalina.core.ApplicationFilterChain.internalDoFilter(ApplicationFilterChain.java:304)  at org.apache.catalina.core.ApplicationFilterChain.doFilter(ApplicationFilterChain.java:210)  at org.apache.catalina.core.StandardWrapperValve.invoke(StandardWrapperValve.java:240)  at org.apache.catalina.core.StandardContextValve.invoke(StandardContextValve.java:164)  at org.apache.catalina.authenticator.AuthenticatorBase.invoke(AuthenticatorBase.java:462)  at org.apache.catalina.core.StandardHostValve.invoke(StandardHostValve.java:164)  at org.apache.catalina.valves.ErrorReportValve.invoke(ErrorReportValve.java:100)  at org.apache.catalina.valves.AccessLogValve.invoke(AccessLogValve.java:562)  at org.apache.catalina.core.StandardEngineValve.invoke(StandardEngineValve.java:118)  at org.apache.catalina.connector.CoyoteAdapter.service(CoyoteAdapter.java:395)  at org.apache.coyote.http11.Http11Processor.process(Http11Processor.java:250)  at org.apache.coyote.http11.Http11Protocol$Http11ConnectionHandler.process(Http11Protocol.java:188)  at org.apache.coyote.http11.Http11Protocol$Http11ConnectionHandler.process(Http11Protocol.java:166)  at org.apache.tomcat.util.net.JIoEndpoint$SocketProcessor.run(JIoEndpoint.java:302)  at java.util.concurrent.ThreadPoolExecutor.runWorker(Unknown Source)  at java.util.concurrent.ThreadPoolExecutor$Worker.run(Unknown Source)  at java.lang.Thread.run(Unknown Source)


Keep Coding……….


Eclipse Not Working Only Flickering

If you are finding issue somethig like this,then first of all just go to your command prompt under username and check java version there
by simply typing:-

java -version

If you can see java version there then simply checking below settings:-

JAVA Installation:

Installed JDK at C:\Program Files\Java\jdk1.7.0_10
Installed JRE at C:\Program Files\Java\jre7

Environment Variables Configuration:

JAVA_HOME = C:\Program Files\Java\jdk1.7.0_10
PATH = C:\Program Files\Java\jdk1.7.0_10\bin;

But if you are unable to see java version there and some error like:-

“Error occurred during initialization of VM java/lang/NoClassDefFoundError: java/lang/Object”

Then just go to :-
C:\Program Files\Java\jdk1.7.0_10\jre\lib

and check that “rt.jar” is there.If this is not there then uninstall java from your machine and install java again.

Hope fully it will help someone.

keep coding………….

Java and MySQL Connectivity

Connecting java with database is heart of any application.

Below is code of a jsp page simply save it with any file name with .jsp to use.

 <%@ page language="java" contentType="text/html; charset=ISO-8859-1"
pageEncoding="ISO-8859-1"%>
<!DOCTYPE html PUBLIC "-//W3C//DTD HTML 4.01 Transitional//EN" "http://www.w3.org/TR/html4/loose.dtd">
<html>
<head>
<meta http-equiv="Content-Type" content="text/html; charset=ISO-8859-1">
<title>JDBC Demo with MySQL</title>
</head>
<body>
<table>
<%@ page import="java.util.*" %>
<%@ page import="javax.sql.*;" %>
<%

java.sql.Connection connection = null;
java.sql.Statement statement = null;
java.sql.ResultSet resultSet = null;
java.sql.PreparedStatement preparedStatement = null;

// Change below three variables according to your database settings.
String connectionString= "jdbc:mysql://127.0.0.1:3306/mydb";
String userId= "root";
String password = "admin";

try
{
Class.forName("com.mysql.jdbc.Driver");
connection = java.sql.DriverManager.getConnection(connectionString, userId, password);
}
catch(ClassNotFoundException classNotFoundException)
{
classNotFoundException.printStackTrace();
}

//employee is table name in database mydb.
String sqlSelectQueryString = "select * from employee";

try
{
statement= connection.createStatement();
resultSet = statement.executeQuery(sqlSelectQueryString);
%>

<%
while( resultSet.next() )
{
%><tr>
<td><%= resultSet.getString("EmpId") %></td>
<td><%= resultSet.getString("EmpName") %></td>
</tr>
<%
}
%>

<%
}

catch(Exception exception)
{
exception.printStackTrace();
}
finally
{
if(resultSet != null)
resultSet.close();
if(statement != null)
statement.close();
if(connection !=null)
connection.close();
}

%>

</table>
</body>
</html>
 

Assuming that you will be using this inside the Eclipse IDE.

Once you will run this in Eclipse then an exception will be shown to you something like:-

java.lang.ClassNotFoundException: com.mysql.jdbc.Driver
at org.apache.catalina.loader.WebappClassLoader.loadClass(WebappClassLoader.java:1676)
at org.apache.catalina.loader.WebappClassLoader.loadClass(WebappClassLoader.java:1521)
at org.apache.jasper.servlet.JasperLoader.loadClass(JasperLoader.java:126)
at org.apache.jasper.servlet.JasperLoader.loadClass(JasperLoader.java:63)
at java.lang.Class.forName0(Native Method)
at java.lang.Class.forName(Unknown Source)
………………………………………………………………………………………………………………………………………………….
…………………………………………………………………………………………………………………………………………………..

This is major issue,this exception is need to handle,otherwise you will never know what’s issue is.As you can see it is ClassNotFoundException and asking for ‘com.mysql.jdbc.Driver’.So now lets download it from here:-

http://dev.mysql.com/downloads/mirror.php?id=13598

you will found a zip with name:-‘mysql-connector-java-5.0.8.zip’
Just extract it and copy “mysql-connector-java-5.0.8-bin.jar” from here
and paste it into ‘lib’ folder inside ‘WEB-INF’ folder in Eclipse.
After this just clean and rebuild your application.Now no exception is going to occur.
And you will see output into your page working perfectly.

For additional info on the same you can reffer to the url below:-
http://www.cbcb.umd.edu/confcour/CMSC424/Simple%20tutorial%20for%20using%20JDBC.pdf

Also good information can be found on:-

http://dev.mysql.com/doc/refman/5.6/en/connector-j-installing.html

Enjoy………..

Installing Eclipse For Java

Eclipse an one of the most popular IDE for Java based application development.You can find necessary steps from url below:-

http://www.javaprogrammingforums.com/java-jdk-ide-tutorials/253-beginners-eclipse-tutorial-how-run-first-java-application-eclipse.html

Or if you directly want to download then follow this:-

http://www.eclipse.org/downloads/

Better to go for the version with lable,Eclipse IDE for Java EE Developers Eclipse IDE for Java EE Developers

for full feature.